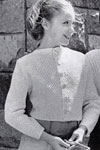
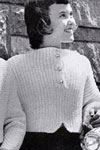
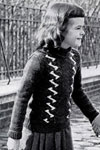
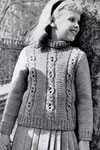
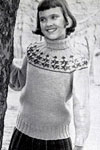
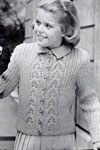
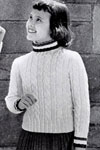
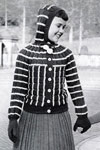
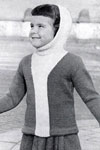
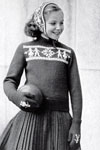
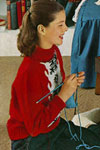
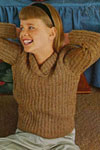
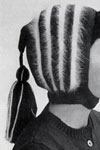
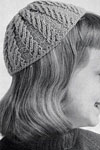
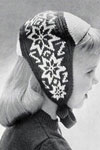
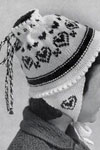
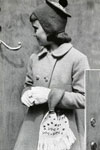
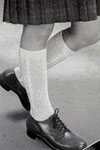
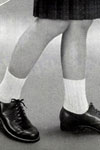
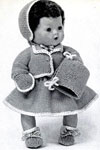
Fashion & Fun for the Almost Teens | Bernat Handicrafter Book 59
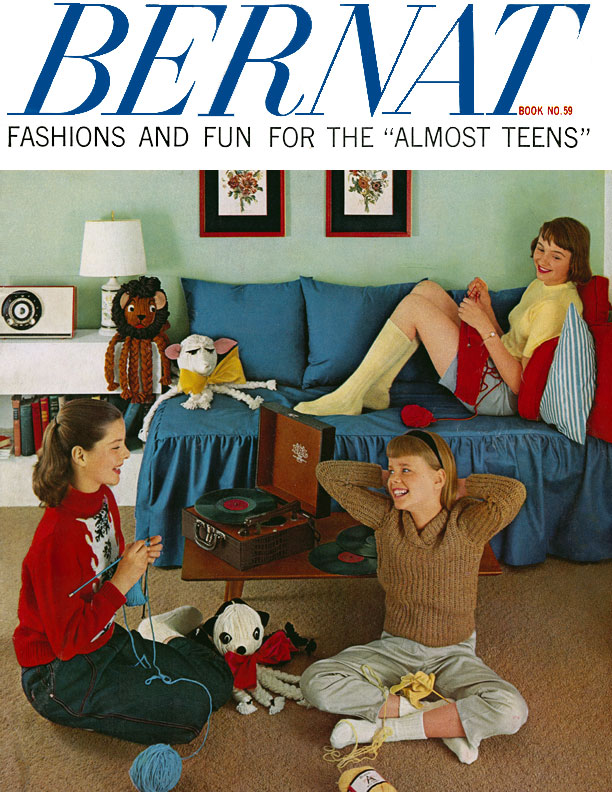
Fashions & Fun for the Almost Teens
Book 59
Bernat Handicrafter
Original Copyright 1957
STITCH GAUGE
The term "STITCH GAUGE" is the most important part of all knitting directions, since the sizing of any knitted garment is planned on this gauge. You MUST work to the gauge which is given or your finished work will not be the size indicated in the directions.
TO CHECK STITCH GAUGE
Cast on approximately 20 sts, using the yarn and needles which will be used for the body of your work. Work in specified pattern stitch for 3 inches. Bind off all sts. Block this knitted swatch and then, using a ruler as a guide, count the number of sts to 1 inch. If your stitch gauge is MORE sts to 1 inch than that given in the directions, try the next size larger needle and again check your gauge. If your st gauge is LESS sts to 1 inch than that given in the directions, try the next size smaller needle and again check your gauge. The IMPORTANT THING to remember is that the size needle used does not matter, as long as your stitch gauge is correct.
GARTER STITCH
Knit every row. It will take 2 rows to make 1 ridge.
STOCKINETTE STITCH
K 1 row, P 1 row alternately when working on a straight needle. When working round and round on a circular needle or double point needles, knit every round.
SEED STITCH
On the first row * K 1, P 1, repeat from * to end of row. On all subsequent rows, K over the P st and P over the K st.
TO SLIP A STITCH
Whenever the directions specify a sl st, always insert the right hand needle in the st to be slipped as if to P, unless otherwise directed.
MARKERS
When work specifies the use of a marker, use a small round paper clip for this purpose. In working, always slip this marker from one needle to the other.
JOINING YARN
If possible, always join a new ball of yarn at the beginning of row. When it is necessary to join yarn while working across a row, leave an end about 4 inches long; then work from the new ball of yarn on the next st, also leaving a 4 inch end. After working for 1 inch more, tie these two ends in a square knot, so that tension will be the same as all other sts. When finishing work, run these ends in for 1 inch on wrong side of work.
TO WORK DUPLICATE STITCH
Thread yarn in a tapestry needle. * Insert needle from wrong side to right side through center of st and draw yarn through. Then insert from right to left through top of st, drawing yarn under double strand of st (do not draw yarn tightly). Then insert needle through center of st once more, thus completely covering st. Repeat from * for each st indicated.
KNIT-IN DESIGNS
When changing colors, always hold color, which has just been worked, to the left and pick up new color from underneath. This twists colors so there are no holes.
TO WEAVE STITCHES
Thread a tapestry needle with end of yarn. Holding two needles together, wrong sides touching, * insert tapestry needle as if to K into first st of front needle, draw yarn through this st and slip the st off knitting needle; insert tapestry needle as if to P into second st of front needle, draw yarn through this st and let the st remain on knitting needle; insert tapestry needle as if to P into first st of back needle, draw yarn through this st and slip this st off the knitting needle; insert tapestry needle as if to K into second st of back needle, draw yarn through this st and let st remain on needle; repeat from * until all sts have been worked off knitting needle. Draw up all sts to same tension as knitted sts. Fasten off.
FRINGE
Cut strands of yarn slightly more than twice the desired finished length of fringe. Double one or more strands. Insert crochet hook through edge where fringe is to be made and draw through the double strand or strands; draw ends through this loop and pull ends to tighten. Continue across piece to be fringed.
TASSELS
Wind yarn around a cardboard, cut ½ inch longer than size of desired tassel. When yarn is desired thickness for tassel, tie loops together at one end; slip off cardboard and wind yarn around the loops near the top. Cut bottom edge and even off.
POMPONS
Wind yarn around a cardboard, cut to measure 2 inches, 25 times for heavy yarn and 50 times for fine yarn. Slip off cardboard and tie in center. Cut loops at each end and shake vigorously. Trim evenly.
TWISTED CORD
Cut strands of yarn 5 times desired finished length. Double this yarn and fasten one end on a hook, so that it is firm. Twist the doubled strands tightly in one direction until it is very firm. Holding the loose end and the end from hook together, allow to wind together. Smooth out any knotted sections. Knot the loose ends.
SIZE CHART FOR SUB-TEENS |
|||||||||
SIZE |
8 |
10 |
12 |
14 |
SIZE |
8 |
10 |
12 |
14 |
BUST |
30½ |
32 |
33½ |
35 |
BOTTOM TO UNDERARM |
11 |
11½ |
12 |
12½ |
SHOULDER BACK |
12 |
12½ |
13 |
13½ |
UNDERARM SLEEVE LENGTH |
15½ |
16 |
16½ |
17 |
SHOULDER |
3¾ |
4 |
4 |
4¼ |
SLEEVE WIDTH AT UNDERARM |
10 |
10½ |
11 |
11½ |
BACK OF NECK |
4½ |
4½ |
5 |
5 |
WAIST |
25½ |
26½ |
27½ |
28½ |
ARMHOLE DEPTH |
5½ |
6 |
6½ |
7 |
HIP |
32 |
34 |
36 |
38 |
ABBREVIATIONS
| knit | K |
| purl | P |
| stitch | st |
| slip | sl |
| slip stitch | sl st |
| pass slip stitch over K st | psso |
| increase | inc |
| decrease | dec |
| together | tog |
| beginning | beg |
| yarn over | y o |
| double point | dp |
| chain | ch |
| single crochet | sc |
* — this symbol indicates that the directions immediately following are to be repeated a given number of times.
"Work even" means to work without increasing or decreasing, always keeping pattern as established.
| Pattern Categories Browse the categories to help you find the patterns you're looking for. |
||
|
||


